Now that I'm finally on maternity leave (just 3 weeks and a few days short to 'd-day!'!!!) I totally feel like I'm running out of time to finish everything! I'm sewing like crazy to finish the last projects for the nursery. (Still need to paint the crib, still need some finishing touches for the room and still need to sort out and wash a ton of baby clothes...)
There are a few things that I really wanted to make ('just for fun') and those are a few Koeka-inspired textile items. Wrote about the brand here.
The originals are just way too expensive for my budget.
These days I'm able to finish one item a day from cutting to embroidery. It also keeps me from gaining too much weight since my sewing machine is on the second floor and I like to do the cutting and sewing downstairs, at the dining table...
the original:

My inspiration for this knock-off was this Koeka playpen mat above (price: 65 euro's) The Koeka 'Amsterdam' playpen mat is reversible and has two sides with different colors.
Normally, you don't need to use anything underneath the mat, but when the babies start to lift their head it is better to have something that is a little shock-absorbing... A friend's suggestion was to only use a simple layer of 4 cm mattress, cut to size, in combination with a few covers, but I also liked the look of the Koeka paypen mat and I also think it is hygienic to have an absorbing layer on top of the mattress, that you can throw in the washing machine.
Instead of making a thick and reversible playpen mat like the original Koeka one I decided to make two separate ones. This way I always have one reserve if the other needs to be washed. Also, I could go with a cheaper fabric for the back lining.
my version:

I made mine exactly like the original, with the corners and the small top-stitching around the center (this secures the top and bottom layers to each other too, to prevent shifting of the filling) The edges are hand-embroidered with mattress stitch instead of the machine-stitch version of the original:

material:
- cheap 2-persons IKEA blanket (used two layers as a filling for each mat)
- cotton waffle fabric (I used a little less than 1 meter from 140 wide)
- IKEA Haren bathtowel for the center (70x100 cm enough for two)
- cheap cotton fabric as under layer, I used IKEA 'ditte' which is a sturdy cotton
- embroidery thread in a contrasting color
optional: dylon fabric dye to making all colors match
step-by-step:
- prewash your fabrics!
After prewashing my fabrics (I actually don't wash them too hot, but do put them in a very hot dryer!)
- very important: calculate before cutting!
I.m.o. it is better to cut rectangular pieces for the borders instead of cutting the edges angular right away, just in case the fabric shifts when sewing.
For the back cut one piece, the measurements of the finished size + seam allowance all around.
For the back cut one piece, the measurements of the finished size + seam allowance all around.

- make the filling:


Folding and pinning was the easiest to do on the floor, so after finishing the two fillings I put them in the washing machine to remove dirt and fabric chemicals. Also I wanted the filling to be clean before sandwiching them between the outer layers. As you can see, the size is slightly larger than the inner measurements of the playpen, but that's okay:

Sew the borders to the bathtowel center part. Make sure you reinforce the corners by sewing over a few times. Press the seam allowances towards the borders.
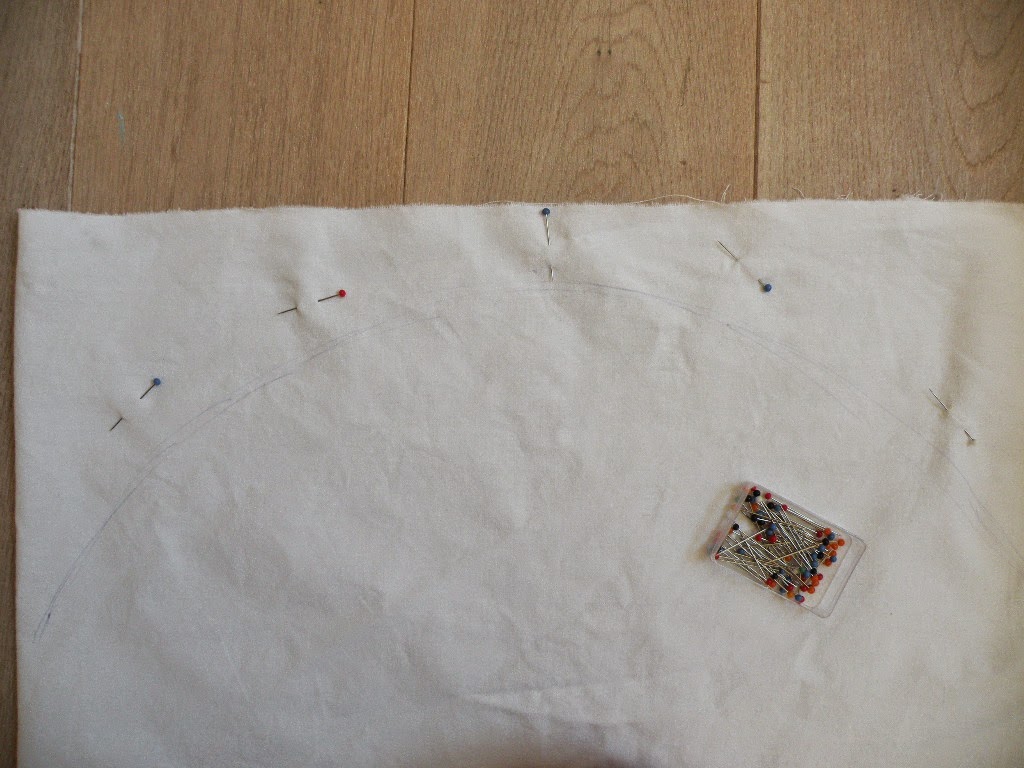
Match the corners (the sides should match up or be parallel) draw seam allowance and cut excess fabric:


sew corners and clip the waffle cotton where the two types of fabric meet:


press seams open (the bath-towel center remains rectangular and lays on top of the inner corners)


Now is your top layer ready! Pin it on top of the other layer all around. Cut excess fabric if needed and sew the two layers, leaving a small opening at one of the shorter sides:

Press the seams open after sewing. Turn the cover inside out and press the edges flat. Put filling inside and secure every corner with one pin. Flatten everything.

Use a very small top-stitching around the center part on the waffle cotton layer to secure the back and front layers. This way you 'sandwich' the filling and prevent from moving around.
Since pinning such thick layers is impossible, I used a thread to handstitch through all layers at a few places before machine sewing.


Embroider the edges with blanket-stitch and your beautiful playpen-mat is ready to use!