

the cover can be used with both sides, the front is rough and the back has a clean and geometric look:


material & sizing:
- old pair of jeans or (leftover) pieces of jeans fabric
- zipper of 40 cm
- inner cushion
trick:step-by-step:
use the IKEA 'GOSA SLAN' pillow which is cheaper (1.99 euro's) and has more filling (450g) than the 'INNER' cushion (2 euro's and 350g) and is easy to shorten to 50x50 cm (20"x20")
I used jeans fabric to make this project, since I had no old pair of jeans on hand and this was a very last-minute project to create a Christmas gift for a teenage boy.
1. Make the 'clean' side first, by cutting large, rectangular pieces (don;t forget to add seam allowances all around) For the 'rough' side you can use scrap fabric too, but you need to have larger pieces for this. Sew the pieces together to a size of 50x50 + seam allowances all around! (I always use the standard 5/8 or 1.5 cm)
Finish all seam allowances and use a small topstitching on the seams:

2. Cut up the pair of jeans or jeans fabric into stripes of different widths, in different directions. I used fabric stripes about 30 cm and not shorter than 20 cm. (no pics of this step because I was working on it at nighttime...)
3. Cut the stripes into squares and rectangular pieces of different widths, then sew them back together, placing wrong sides together and swing on the right side. I used a seam allowance of approx. 0.5 cm (= 1/8").
By the way, I did for the patchwork-side of the cover everything 'freehand', no super straight lines, no pinning, no precise seams or anything.


4. Te fun part: assemble your 'puzzle' of fabric stripes! don't be afraid of cutting pieces off or adding strangely shaped pieces of scrap fabric to fill up the empty spaces. When sewing you can fold the seams to one side or press them open:
5. Cut to size (50x50 cm + seam allowances all around)
Press from the back. Check for holes like below. Close them from the right side. (here is a strange little corner which is open):

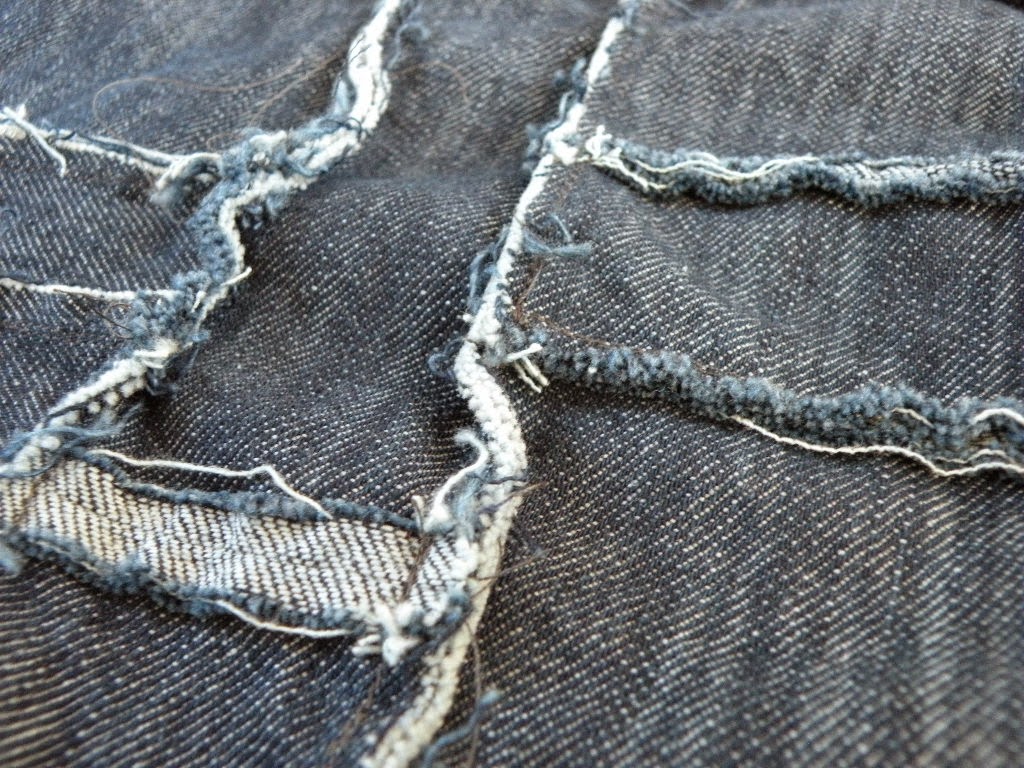
6. Before assembling finish seam allowances on the outer edges, I used a simple zigzag stitch. Another fun part: make your patchwork piece wet and put it in the dryer. This causes the edges unravel further and makes the loose fibers swell giving a nice, 'fluffy' surface. If you aren't satisfied repeat.
7. Roughly cut away the horizontal (white) threads along the seams. Press from the back.
8. Pin front and back and sew (leaving place on one side for the zipper). No problem if your patchwork piece doesn't have perfectly straight edges, you can gently pull it in shape or just leave it like that. Reinforce corners by going back-and forth a few times when sewing.


9. Clip the corners and finish cut edges:


10. Press seam allowances open at the opening and insert a simply lapped zipper:


11. Ready!
No comments:
Post a Comment