

Now that I'm finally on maternity leave I have the time to finish my list of baby-related sewing projects. The first one is making hot water bottle bags!
In The Netherlands, you need to purchase two, stainless steel hot water bottles for the baby's bed, to keep the temperature warm and comfortable during the first weeks after birth.
Metal bottles seems odd and old fashioned, but when handled properly, they are safer to use than the rubber ones: there is no risk of tearing, leaking, and they stay warm longer. I've got mine second hand, from a friend.
Of course, the bottles can't be placed in the baby's bed without a cover. You can buy all kinds of bottle bags, from really cheap and simple to quite expensive, like those of the Dutch brand 'Koeka'. Their 'Antwerp' series of baby textiles features waffle cotton with blanket-stitch edges.
Unfortunately it is a fashionable, and expensive brand. Their hot water bag above costs 16 euros (!) a piece.
Making my own knock-off version was an easy choice. I also added an extra bathtowel lining to reduce the heat on the outside a bit. Im really happy how my hot-bottle covers turned out! They costs about 3 euro's and some left-over fabric. (The piece of bathtowel was a leftover from my baby badcape project, the cotton waffle fabric was a sample which I've got for about 1 euro)


 step-by-step:

First I made the two layers. The inner layer is stitched to a width of 13.5 cm, with the seam allowances on the outside. Clipped the corners and pressed the seams open.
Then I made the outer layer from the waffle cotton (which I prewashed and put in the hot dryer to let it shrink as much as possible). For a snug fit it is just slightly larger than the inner layer: 14 cm wide.
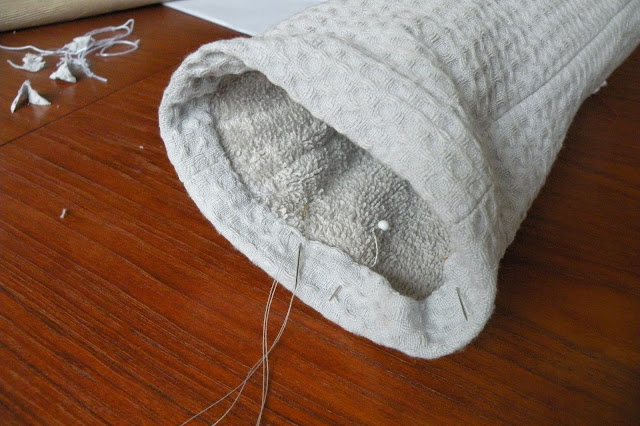
The layers were assembled with the seam allowances between the two layers. (the bathtowel layer with the s.a. on the outside and the outer layer with the s.a. on the inside.
Before doing that I added a little crochet flower embellishment (about 9 cm from the bottom up) I used
this free crochet flower pattern.


Since I love handsewing and my bathtowel layer was a little shorter than the other layer I hand-stitched the edges (bonus: the stitches are not visible from the outside) Before stitching I've put a bottle in the bag to make sure everything was pulled tightly and was free of wrinkles.


I stitched the two layers together all around, went a few times over the upper right seam to strenghten it, and then cut only the waffle layer open between the stitched lines to place the 50 cm long twill tape:

As a finishing touch I added a blanket stitch edging with white embroidery thread:


They are cute, right?


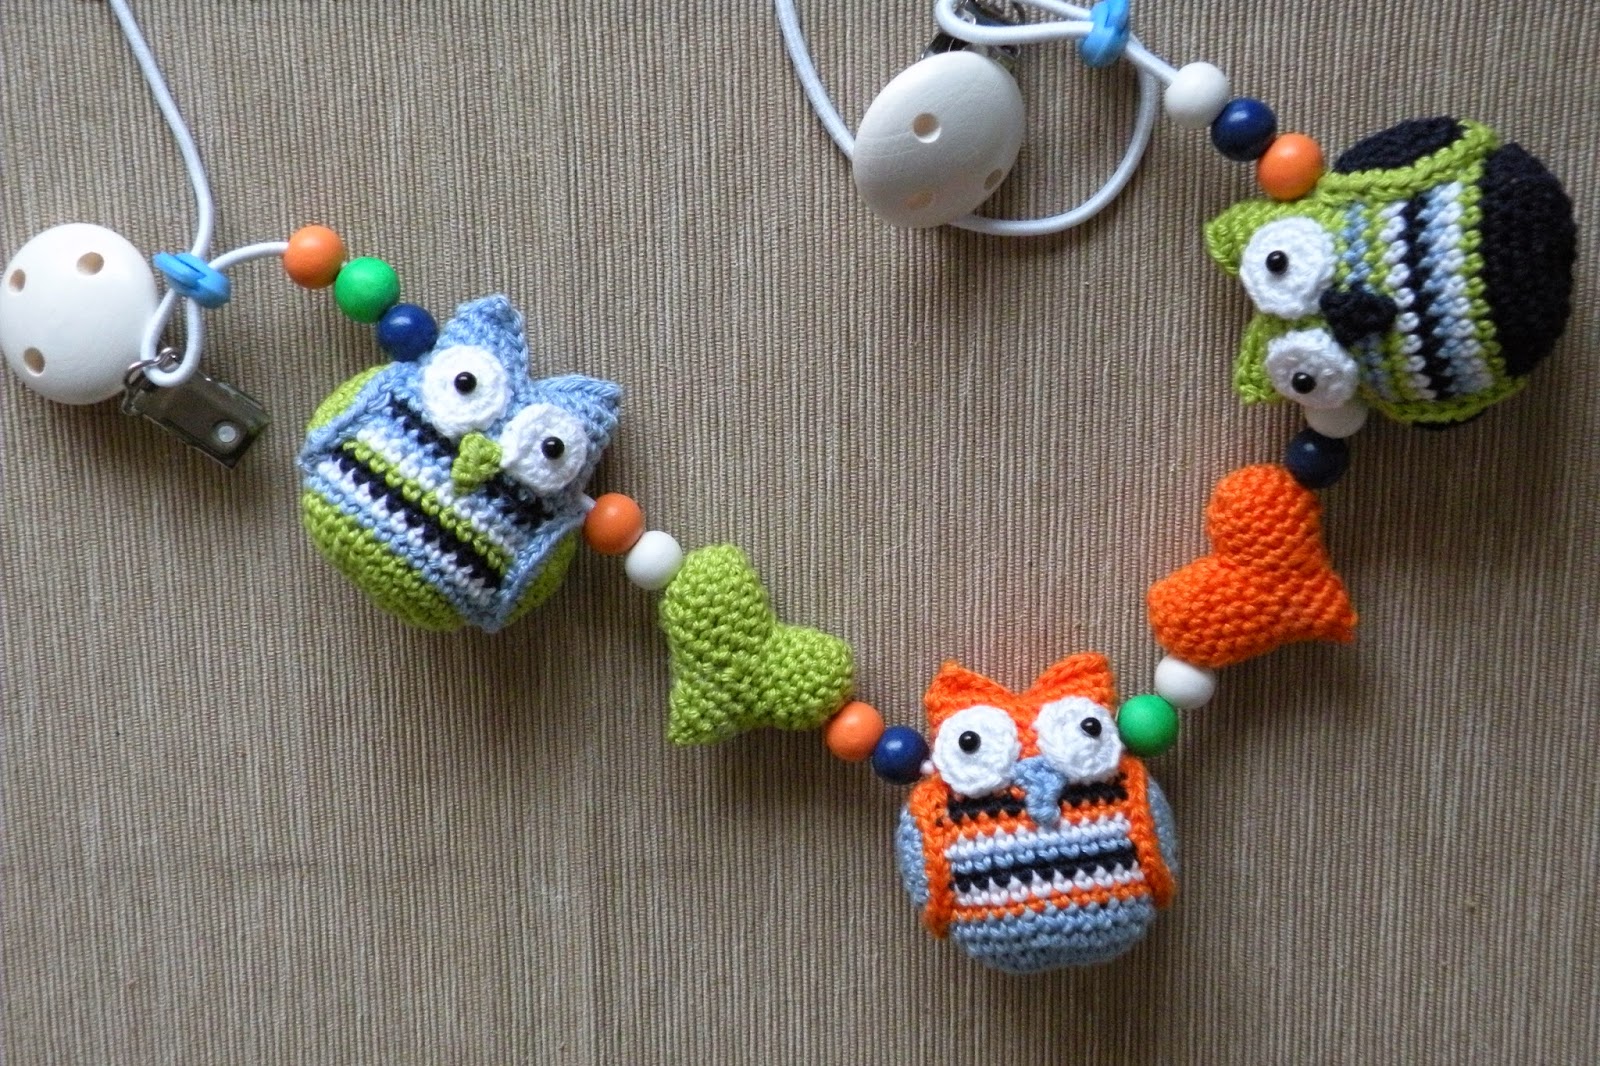


 These little hearts are still part of my owl pram spanner project. The original pattern uses little flat flowers for the girls and flat leaves for the boys in combination with wooden beads to separate the owls. Part of my owl-family will be used for a mobile above the crib, so I wanted some extra shapes to put on that too. I quickly decided that I'd rather like to have something 3-dimensional there, and finally settled on little stuffed hearts.
 Most of the free heart patterns weren't the right size or shape to my taste or the surface looked not right (since using SC all around it is important where you increase/decrease the stitches). Finally I've found
 It was the first time I used 'safety eyes' and of course I had no idea how they exactly worked. Apparently, the little 'screws' have a back fixation too. I was eager to sew on the crochet eyes to my little owls while waiting for the post to arrive, and the idea would be to attach the safety eyes first, secured from the back and then sew it on. Tried to perform 'eye-surgery' on the little ones by attempting to push the back rings underneath the (already attached) white crochet rings, unfortunately without any success. Lesson learned... At the end of the day I just used sewing thread to fix the back of the little screws, by pulling tight loops around them. No way they will fall out, or get lost now, for sure!


