

Interestingly, the Phillipa pattern calls for a zipper closure on the neck opening, which was more popular in the late 40's and 50's. I decided to skip the zipper closure and go with a button closure. 1930's and 1940's sweaters and jumpers usually have quite high necklines. There is an extra opening needed in order to pull it over your head. Most of the garments of the era feature a button closure or press studs in the back of the neckline or button closure at the shoulders.
- zipper closure: divide the back neck opening in the middle as instructed. Keep knitting in pattern on both sides. Before inserting the zipper reinforce the back of your seamline with tape.
- button closure with vertical loops: the loops are crocheted on after finishing. An 'underlayment' button band is not necessary but looks professional. Imagine pulling the opening, you certainly don't want to show skin...
- button closure with horizontal knit-in buttonholes: a popular method but not my favorite because of the minuscule buttonholes you should knit. You need to make an underlayment button band on one side and knit in buttonholes on the other: When knitting you cast off a certain amount of stitches and cast on again in the next row on your pattern side.
- button closure with press-studs: you need an underlayment button band but instead of knitting in buttonholes add press-studs afterwards. Those can be either visible, with a nice shell-finishing or invisible and sewn to the wrong side of the upper layer.
- shoulder opening: due to the shoulder shaping you always need to pick up stitches after finishing to do this.

An 'underlayment' button band is often knitted after finishing.
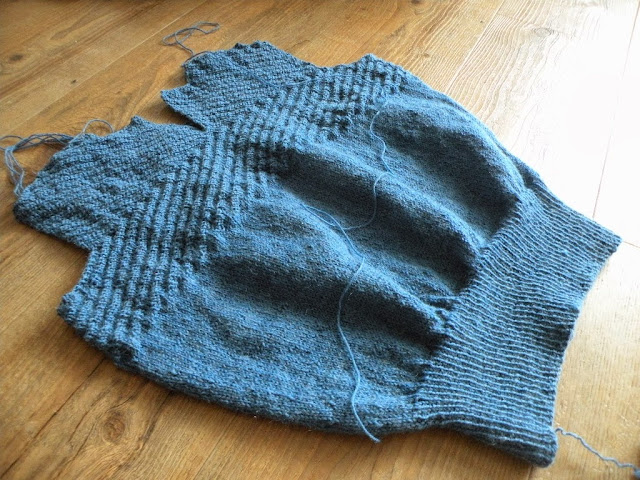
In that case you simply divide the back in two and finish the right and left part separately as you would do for a zipper closure. Then you need to pick up stitches along the one side (usually left) and knit about 1/2 in or 1.5 cm (usually in rib). Another method is below, when you knit your button band with the existing stitches. This is done in garter stitch to omit the curling edges of st-st. Again, I think it looks neat and you don't have to pick up stitches afterwards!
The finished button tab with crochet loops - more about those in one of the next blog posts of the Pillipa-series. The buttons are sewn right on the inside edge of the garter-stitch band (where the garter stitch meets the pattern)


knit-in button band
To do this after dividing the back as instructed I picked up 4 extra stitches when knitting the second row of the left side by knitting (purling) twice in the last 4 stitches. I left the original stitches on a spare needle at the front of the garment and knitted the extra stitches continuing my other half back.
The 4 extra stitches were knitted in garter stitch as instructed by the most vintage jumper patterns (K those stitches in every row).
This created an underlayment. You could either knit in buttonholes on your other hals back or crochet loops when finishing the edges as I'm going to do.


machine buttonholes
How do you feel about knitting small buttonholes? Although I can say I'm an experienced knitter this one is always a misery. I think it is close to impossible to get them the right size or shape. Somehow they are always too big or too small, or too shapeless... Remember, whatever you do you need to reinforce the edges by using tape or grosgrain ribbon. The same counts if you want to insert a zipper too. It stabilizes the fabric and prevent stretching. Here is a detailed tutorial on how to do this.
Next up: those puffy 40's sleeves!
Previous posts in the Phillipa jumper series:
1. introduction
2. yarn an gauge
3. fit an ease
4. pattern charts an diagrams
5. knitting in round &stitch markers
6. methods to increase
7. my seamless pocket lining
No comments:
Post a Comment