So, here is the muslin!
I must say, despite the amount of pattern pieces (4 front, 3 back + sleeves) this came together rather quickly.
sizing:
This pattern comes with pattern pieces for different cup sizes which is great, since in the past I was fine with the standard sizing and have never done a full bust adjustment. After checking the pattern instructions I calculated my 'new' bust size...which turned out to be the largest one, a d-cup.
I haven't really found the finished garment measurements so I thought I'd go with size 10, which with a semi-sitted garment fits most of the time, with just minor adjustments.
So, here is how it should look:

fitting:


+
- the size 10 shoulder width looks perfect
- the choice of the largest cup size was good (though size 10 is too tight)
- the waistline sits at the right height and I like the fact it doesn't look too loose around the waist
- I'd like to have this length for the finished length so I need to add extra length for hemming
- if I want the top to be somewhat fitted around the waist with this bust size, I need to put a side zipper in (I've already left one side of the muslin open)
-
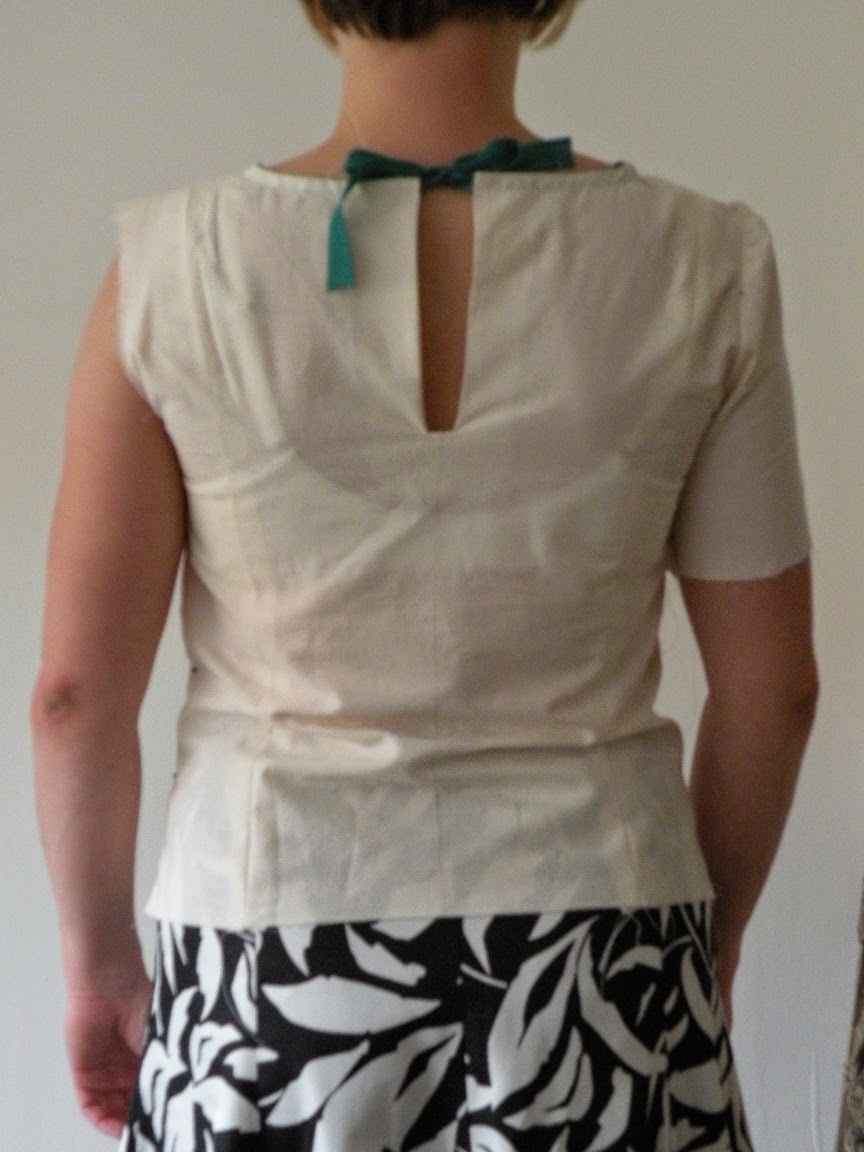
- there are horizontal/diagonal wrinkles at the (finished) sleeve side of the yoke. The yoke is a tad too tight at the bottom seamline, so I need to go for a size larger there
- obviously, the fit across the bust is too snug, I need to size up that as well. Note: the apex marking is sitting at the right height but not at the right place. (The seams are sitting at the right apex placing)
- the area below the bust in the front is slightly 'baggy'. Now baggy-ness is always caused by too much fabric. I could pinch a bit out along the seamlines, which would make the fit under the busts better. This can be done when assembling the top so I don't need to change that on the pattern pieces yet.
- the sleeve width needs adjustment, just like I did on my Simplicity blouse (you see the wrinkles when I lift my arm up)


- horizontal wrinkles at the lower back --> more about that next time!
- also the tightness at the upper back will be better with the size 12 pattern pieces:


pattern adjustments to do:
- trace a size larger (size 12) pattern pieces
(there is enough ease in the sleeve cap, so this change will not affect the fit)
- adjust sleeve width by adding a total of 2 cm (I think this is necessary, even if the sleeve is going to be a size larger) I have used Nancy Zieman's method and wrote about it in this blogpost
Pretty straight forward, right? Next post is all about the back. I keep you posted!

No comments:
Post a Comment